DIY Fence Installation: A Comprehensive Guide for New Bedford Homeowners
Are you considering a DIY fence project to enhance your New Bedford, Massachusetts property? This comprehensive guide will walk you through the entire process, from selecting the perfect fence style to ensuring a sturdy and safe installation. We’ll cover all the essential steps, including measuring and planning your yard, gathering the right tools and materials, and constructing various fence components. Get ready to transform your outdoor space!
- Understanding Your Fence Options for New Bedford Yards
- Measuring and Planning: A Step-by-Step Guide
- Necessary Tools and Materials for Installation
- Building the Fence: Post Placement and Rail Assembly
- Finishing Touches and Safety Considerations for Your Fence
Understanding Your Fence Options for New Bedford Yards
When it comes to fencing your New Bedford, Massachusetts yard, homeowners have a variety of options to consider. The first step is to evaluate your specific needs and preferences. Do you want a functional fence for privacy, or something more aesthetically pleasing? Consider materials like wood, vinyl, or chain link, each with its own advantages and maintenance requirements. Research local building codes and regulations to ensure your chosen fence complies. Additionally, take measurements of your yard to determine the length and height needed, keeping in mind any nearby structures or trees that might affect installation.
Understanding these factors will help guide your decision-making process when selecting a fence style and material. It’s also beneficial to look into local suppliers and contractors who can provide expert advice and assist with the installation, ensuring your new fence is both durable and attractive.
Measuring and Planning: A Step-by-Step Guide
Before you begin installing your DIY fence, meticulous planning and precise measuring are crucial steps. Start by identifying the perimeter of the area where you want to install the fence. Use a tape measure to mark out the length and width of the boundary. Ensure you account for any gates or entry points you may need along the way. Create a detailed map or sketch to visualize the layout, helping you pinpoint the best placement for posts and panels.
Next, determine the type of fence that suits your needs and aesthetic preferences. Different fence styles have specific measuring requirements. For instance, a picket fence might require closer spacing between posts than a privacy fence. Once you’ve chosen your design, follow manufacturer instructions to calculate how many materials you’ll need. Accurate planning ensures a smooth installation process, saving time and potentially preventing costly mistakes.
Necessary Tools and Materials for Installation
Before starting your DIY fence installation project, gather all necessary tools and materials. This typically includes post hole diggers, power drills with various bits, measuring tape, a level, string, and the specific type of fencing you’ve chosen – whether wood, vinyl, or metal. Additionally, don’t forget safety gear like gloves, eye protection, and a hard hat if working at heights.
Ensure you have enough fence posts, rails, brackets, and any required hardware like nails or screws. Check local building codes for specific requirements, as these may impact the type of materials and installation methods allowed on your New Bedford property.
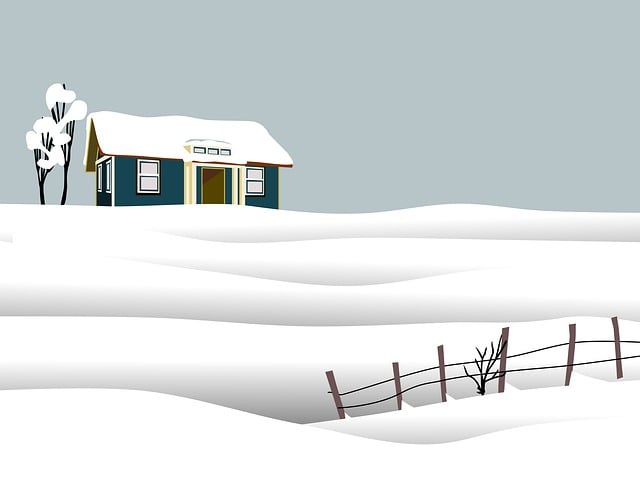
Building the Fence: Post Placement and Rail Assembly
When building your fence, one of the crucial steps is post placement. Start by identifying the best locations for the posts, ensuring they align with your desired fence line and are set in stable, level ground. Dig holes for each post, making sure they’re deep enough to provide strong support—typically around 1/3 of the post’s height. Backfill the holes with concrete, allowing it to cure completely before proceeding.
Once the posts are securely in place, move on to the rail assembly. Attach rails to the posts using brackets or nails, ensuring they’re level and properly supported. The rails will form the fence’s top and bottom sections. Depending on your preferred style, you might add intermediate horizontal rails for extra strength and stability. Always double-check connections for security before moving on to the next step of installation.
Finishing Touches and Safety Considerations for Your Fence
When completing your DIY fence installation, remember that finishing touches can significantly enhance both the appearance and functionality of your new barrier. Consider adding a decorative cap to the top of your posts for a polished look. These caps not only protect the wood from the elements but also give your fence a more refined finish. Additionally, ensure all hardware is securely fastened and check for any loose nails or screws that could pose a hazard to you or neighbors.
Safety should always be a top priority during installation. Wear appropriate protective gear, including gloves and eye protection, as sharp objects and moving parts can cause injury. Keep children and pets away from the work area, especially when using power tools. Regularly inspect your fence for any signs of wear and tear and maintain it properly to ensure its longevity and safety.